

In this world of digital communication, it seems so convenient to click pics on your mobile phone, upload on your facebook, receive responses from friends and conveniently forget it after a while. Have you ever, yourself, gone back and saw what you uploaded say an year ago. Sadly most people’s response would be NO.
Do you remember those good old days when you used to share and discuss photo albums with your loved ones. Each photo had a story behind it and time used to stand still while you used to discuss it. Let’s bring back that magic of an album this festival season specially for those most important in your lives.
I have here created an album which opens up in multitude of folds, opening each new story with each fold. The album can accommodate about 12 photos, but unlimited stories. There is space for your personal message as well. Nothing better to gift your loved one this festive season.
Here is the step by step tutorial for making this lovely, personalized story of yours and your loved one.
Supplies used: Card stock, Fiskar trimmer, Martha Stewart Scoring board, Tacky Tape, Pattern Paper, Distress Ink, Distress Tool, Scissor, Ribbon
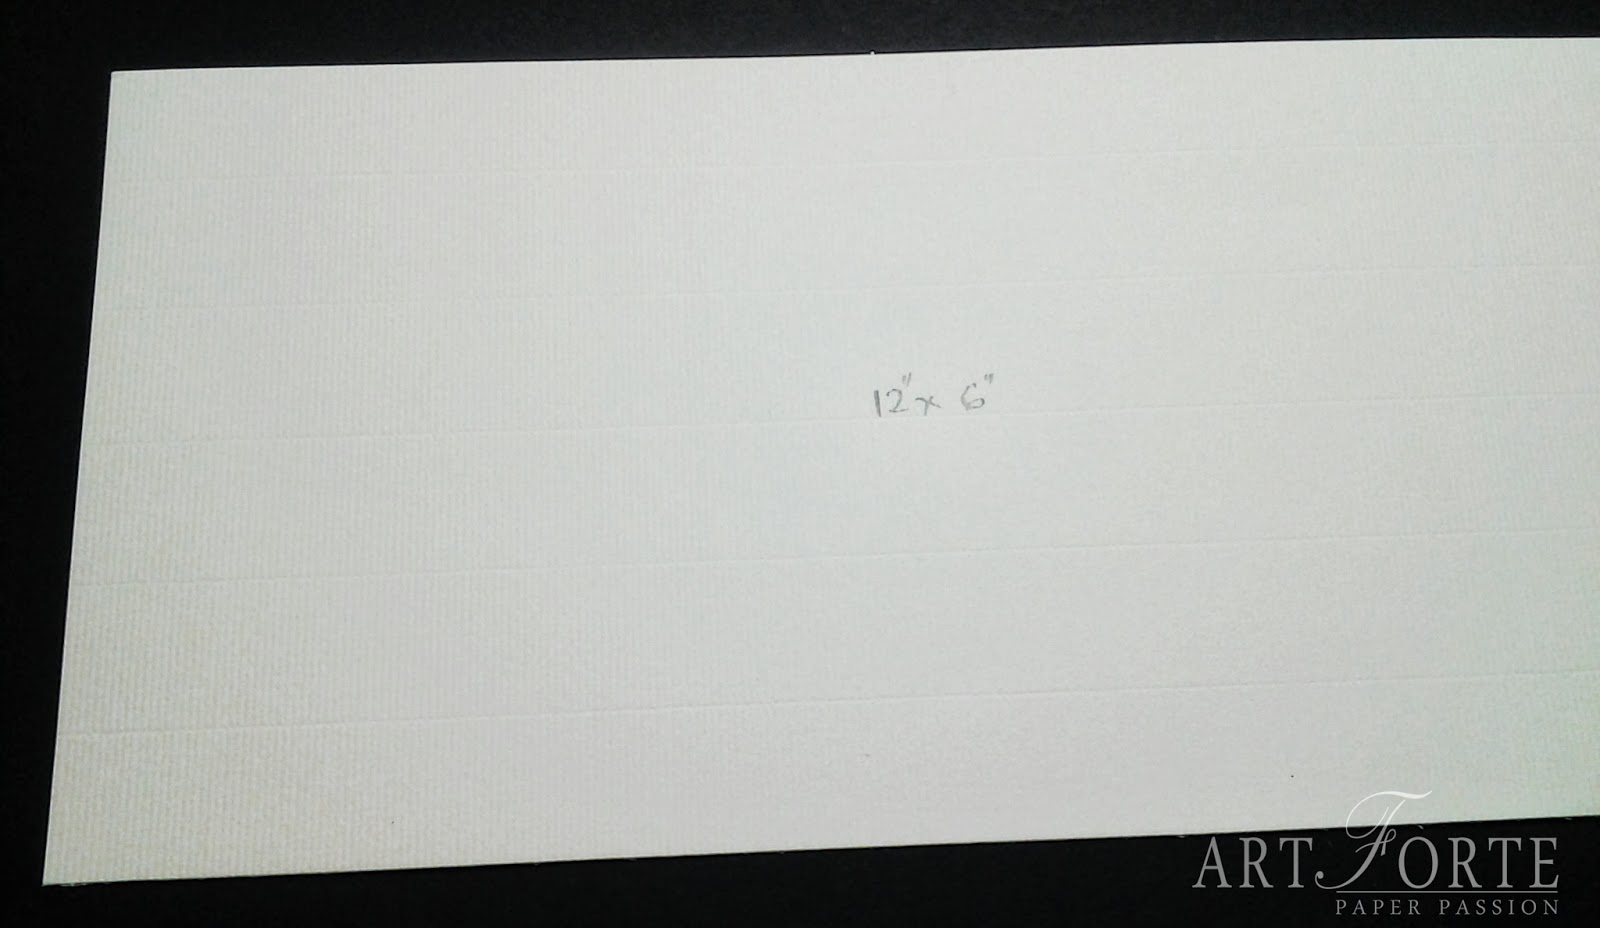
Cover:(Make One) Cut the cardstock to 12" x 6" and score at 2.5" and 3" , 9", 9.5".


Flip Pages: (Make Three) Cut the cardstock to 12" x 5 3/4" and score at 3", 9" and adhere these three together.


Now you will adhere this to the cover panel at the centre( it should exactly fit inside) as shown in the fig.


Now cut two 6" square and paste at 2 1/2" panel ( on left and right) which will be the cover and back.

And fold it with the ribbon and wow it's done!!!

Now decorate it with the pattern paper and some embellishments of your choice...
(Crafters Corner has got huge collections of pattern paper and embellishments of various brands...
do check them out)
Here I have used Prima Pattern Paper -Romance Novel
(Crafters Corner has got huge collections of pattern paper and embellishments of various brands...
do check them out)
Here I have used Prima Pattern Paper -Romance Novel
(Don't put too much of embellishments inside otherwise u'll not be able to fold the album. Else you can increase the spine size to 3/4" or 1").
Here's what I've done


I hope you all will like my album. Do drop in your comments below.
Any query regarding any products please mail at info@crafterscorner.in
And don't forget to participate this month Challenge
Have A Nice Day!!!
Happy Crafting!!!
Super cool
ReplyDeleteBeautiful concept... A must try....
ReplyDeleteBeautiful concept... A must try....
ReplyDeleteGorgeous!!
ReplyDeleteThis is awesome!!! Super cool... I m definitely gonna try it... thanks for sharing the tutorial... papers r so pretty...
ReplyDeletelovely :)
ReplyDeleteVery pretty...
ReplyDeleteVery pretty. Thank you for sharing the tutorial.
ReplyDeletevery beautiful album!! I'm planning to make 1 myself.. I have a few doubts regarding this. Since there is no cover (something like the white paper) for the photos, will the photos not get damaged in course of time?? I'm thinking between 2 options - 1) the scrapbooking album where we have plastic sleeves already and 2) one like what u have made... the problem with the scrapbooking album is that we are limited to have a single sheet with no 3D elements (like flaps, which I wanted to make). Please suggest.
ReplyDeleteHi Berina. First of all thanks for liking my work. You are correct in your thoughts that since the photos do not have cover, these might get spoiled over time. However please note that the product (album) is primarily a craft and natural product and its intrinsic value is the minute work done on it and the natural look of it – just like your love. Using something like plastic might undermine its natural and fresh look.
DeleteSecondly, the quality of paper and printing used these days for photos have undergone a drastic change from one that was used earlier. So, in case you get the photos printed from a good photo shop, the life of the photos is much longer.
So don’t worry and just try it. The expression on your loved one’s face on receiving such a lovely product would be much much bigger than this concern of yours.
Thank you for your suggestions Shalini. I'm planning to make it after my baby is born. I will share it once I have completed it..
DeleteFabulous album Shalini and love the papers you have used and all the design elements.Very pretty!
ReplyDeleteWhat a beautiful album and a very lovely keepsake to create ..Thank you so much for the tutorial Shalini ..I would love to give this a try :) ..The way you have embellished your album with the pattern paper's is gorgeous !!each of the details is well made :)
ReplyDeleteWow shalini, great tutorial, it was just a jiffy for you make this fabulous project
ReplyDeleteThis is so very beautiful..!! Each element you used is just gorgeous..! :)
ReplyDeleteThanks for the tutorial.. :)
nice album Shalini..
ReplyDeletebeautiful n lovely idea of gifting someone a handmade album like this...great job shalini ...
ReplyDeleteNice album....loved that pp....you made it very easy with tutorial. ...definitely going to try. thank you shalini P.
ReplyDeletesuch a beautiful album....thanks for sharing.
ReplyDeleteGorgeous gorgeous gorgeous !
ReplyDeleteAmazing Tutorial Shalini...and loved the paper pad u hv used.
ReplyDeletefabulous work dear.....a super-perfecto album
ReplyDeletewow awesome, love all the details !!!!
ReplyDeletePaula
This is super gorgeous , Love your work , very inspiring
ReplyDeleteBeautiful work..... n very inspiring.... will sure try this one.... Thanks for the tutorial
ReplyDelete