
Good
morning!
Rupa
here today with my post for Crafters Corner. It’s the month of festivities and
this month seems to be slipping by so fast! Diwali is around the corner and its
always nce to papmper your loved ones with some surprise gifts. Well I did
manage to make for my daughter who is 7rs old. I don’t know how much she would
cherish this but I have a lot of memories attached to this project…
You
want to know what I started out with???

Here
is an old and favorite T-shirt of my little girl when she was 3yrs old and this
is the box which came with her first set of shoes and some toys on her 1st
birthday. I have been holding on to these for years now and just got to make
something that she can have for years to come. I want to keep all things
related to friendship and her growing years in this box.
I
have used just these ingredients from Crafters corner, have a closer look and
look what this magic ingredient on the extreme right can do…Shall we start???

Grab
a cup of coffee or tea if you are like me and sit back…loads of pics and
pictorials to catch up on!
Step1-
I was fortunate that the box was white already, so I started by cutting the
focal pic on the tee and adhere ring it with modge podge. Then I gessoed the
whole box.

I took out a floral stencil from my stash and some crackle texture
paste and covered the empty space on the top of the lid. I started from the
fabric so that you wouldn’t see the rough edges of the cut fabric.
Next
was waiting time for the cracks to appear…I decided to make the lid of the box
open like a suitcase, so snipped the back and stuck with red tacky tape. Secure
for sure!
Step2-
The cracks were just beginning to appear but I wanted to give its natural
drying time but had no patience to sit and wait! So covered the base of the box
with yellow Folk art multi surface paint…smooth as satin, really!

Then swished
out the magic ingredient…have a look. This is the Folk art BLENDING GEL.
Curious to know what this is…this extends the drying time of the paint and give
you time to think and play with paints. Isn’t that AWESOME…just right for what
I was planning to do for the base.

The
yellow paint had dried in seconds and them I pot a blob of this gel on the
craft mat and some blue Folk art paint by the side. Dipped my brush in the gel,
picked up the blue paint and spread it like butter over the yellow base.

Now
I was looking for a rag cloth…wait I had just kept it close to me but couldn’t
find it…oh My! I wasted close to a minute to find this…but no worries the paint
was still wet and waiting for I wanted to do, lol! Thank god…
Watch
closely now…I scrunched up the rag cloth and rolled over the wet blue paint and
Voila!


I lovely texture revealing the base yellow color was formed! I continued
rolling all over the base and look at this amazing texture.

It is just NOT
possible to do this without this gel, trust me in spite of the time lost in
looking for the cloth, I managed to get this texture done.

The
same process was repeated on all sides of the box, except this time, I didn’t
loose the cloth, lol!
Step3-
The magic on the base was over I was so happy with the outcome! I had no
patience to cut pattern paper and stick on all sides, I wanted something
different and yes…this gel made it happen.

What say??? I must have if you want
to add painted textures to your projects. Go for it.
Once
done admiring my new technique, I decided to add color to the cracked texture
on the lid that had dried.

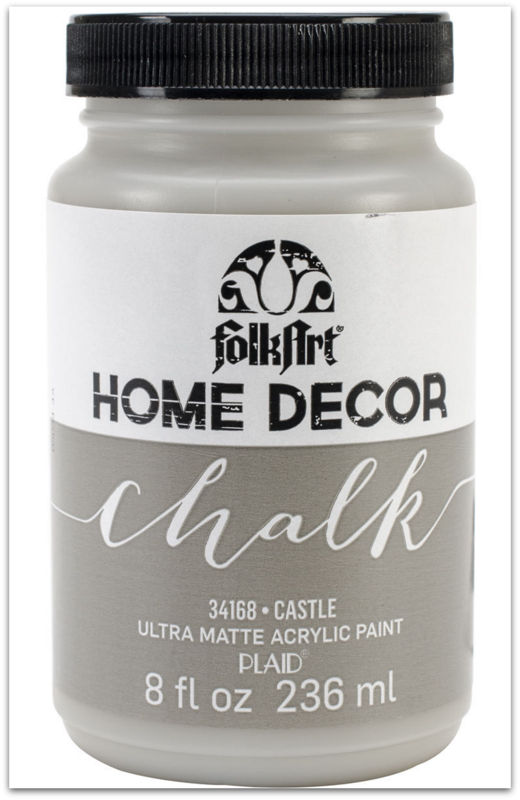
I gave a base color of the chalk paint which was
grey (castle)and then rubbed off immediate so that the cracks took that color.

Then I
brushed in some blue paint on the top and rubbed that too randomly and this is
how the lid looked when done.

I
fixed the handle and wrapped some sparkly ribbon toad more glitz to the
project. Little girls love bling, so I colored the rim of the lid with silver
Inks gold and the metal closures too. A handmade tassel with paper scraps and
laces from my stash added that extra bling!


The
colors were so complimenting to the work outside and I could visualize myself
filling up this box with her growing up memories. I wanted it to be special.
This will be safely kept with me till I think she can handle it.
Here
is a look of the complete box.

I hope you give this gel a try, great for any
texture work on altered art, mixed media or art journaling. Now grab that old
shoe box and a favorite tee and start this one!
I
am going to see you soon with another magic ingredient soon for more texture.
Until
my next creative journey,
Happy
crafting and recycling.
Cheers,
Rupa.
Products
used from Crafters Corner

Redtacky tape


The floral stencilling cocoons the T shirt design so beautifully !!
ReplyDeleteThanks Sonia.
DeleteOutstanding !!! Can you do my makeover !!!
ReplyDeleteThanks anita...waiting for the right products from Shalini and then will experiment, lol! Hugs.
DeleteLove it..Rupa Di..its amazing :-)
ReplyDeleteThanks Sampada.
Deletelove the idea Rupa !! this turned out so wonderful, the texture with paint is awesome !!
ReplyDeleteThank you so much, Suman.
DeleteWhat a fantastic makeover !!
ReplyDeleteThanks Pooja.
DeleteSo many recycling project from your side. This is really outstanding one piece. T-shirt design on toy box like suitcase. Love your work. Thanks for the inspiration.
ReplyDeleteThanks Suzna.
Deletewonderful alteration!! Loved the way you have created every element. The blending gel is something new and superb effect with that. Hugs
ReplyDeleteThanks Gayatri.
DeleteLovely work as always.I loved the texture design.Your daughter is so lucky.
ReplyDelete